If you live on a wooded lot in Mendham, you have something buyers love: privacy, mature trees, and a sense of retreat. The challenge is helping your home read clearly from the street and in photos without stripping away that woodland character. With a little planning, you can boost curb appeal in a way that feels natural and low maintenance.
This guide walks you through Mendham-friendly pruning, driveway edging, and lighting ideas that work with our climate. You will also get a practical weekend plan to get show-ready fast, plus a simple photo checklist. Let’s dive in.
Why curb appeal matters on wooded lots
Wooded Mendham properties often feature tall canopy trees, understory shrubs, and dappled light. That setting is beautiful, but it can make a home look darker and smaller in photos if you do not define edges and sightlines. Mendham’s climate sits around USDA Hardiness Zones 6a–6b, so you also need materials and plant choices that stand up to freeze–thaw cycles and deicing salts.
You want balance. Keep the woodland feel, but shape it so the house is visible, the approach is safe, and the entry feels inviting. A few targeted updates can dramatically improve first impressions in person and online.
Smart seasonal pruning for Mendham
Pruning is the fastest way to improve visibility and safety while keeping a natural look. Focus on selective thinning and thoughtful cleanup.
Start with safety
- Remove dead, cracked, or hanging branches that threaten people, roofs, or drives.
- Raise low limbs to 8–10 feet over the driveway and 7–8 feet over walkways for clearance.
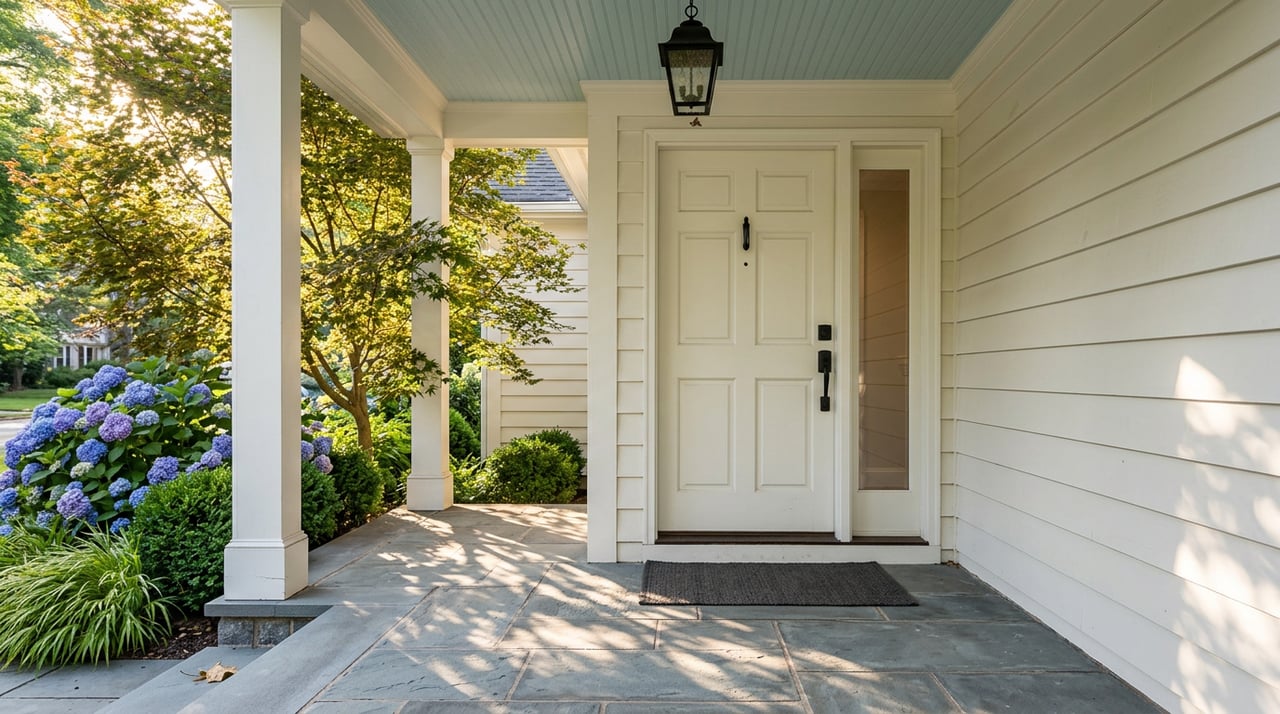
- Clear a 6–10 foot sight corridor from the street to the front door. Let trees frame the view without hiding the house.
- For large or complex work, use an arborist certified by the International Society of Arboriculture. Avoid work near utilities or roofs without a pro.
Timing that works in Zones 6a–6b
- Late winter to early spring is ideal for most structural pruning of deciduous trees. It reduces stress and limits disease spread.
- Prune spring bloomers right after they flower so you keep next year’s blooms.
- Lightly shape evergreens in late spring after new growth flushes. Avoid heavy cuts into old wood unless the species tolerates it.
- Skip heavy pruning in late summer and fall to prevent tender growth before winter.
What to thin and what to keep
- Remove dense volunteer saplings and suckers close to the house to open views.
- Thin shrub masses that block windows or architectural details. Remove every other stem rather than shearing flat.
- Keep select native understory plants to preserve a woodland feel.
- Refresh mulch to a 2–3 inch depth for a finished look, but keep mulch a few inches away from trunks.
Health, deer, and roots
- Mendham’s soils vary from well-drained loams to pockets of clay. Protect root zones and avoid heavy excavation under drip lines.
- Deer browsing is common. Choose deer-tolerant species for entry containers and protect key plants with temporary fencing or repellents.
- If a tree is significant in size or near the road, check Mendham Township rules. Some trees need permits to remove or prune, and wetlands or steep slopes may trigger state or local review.
Driveway edging that suits a woodland look
Good edging defines space and adds order without looking overly formal. Focus on materials that play well with trees and winter conditions.
Materials that hold up
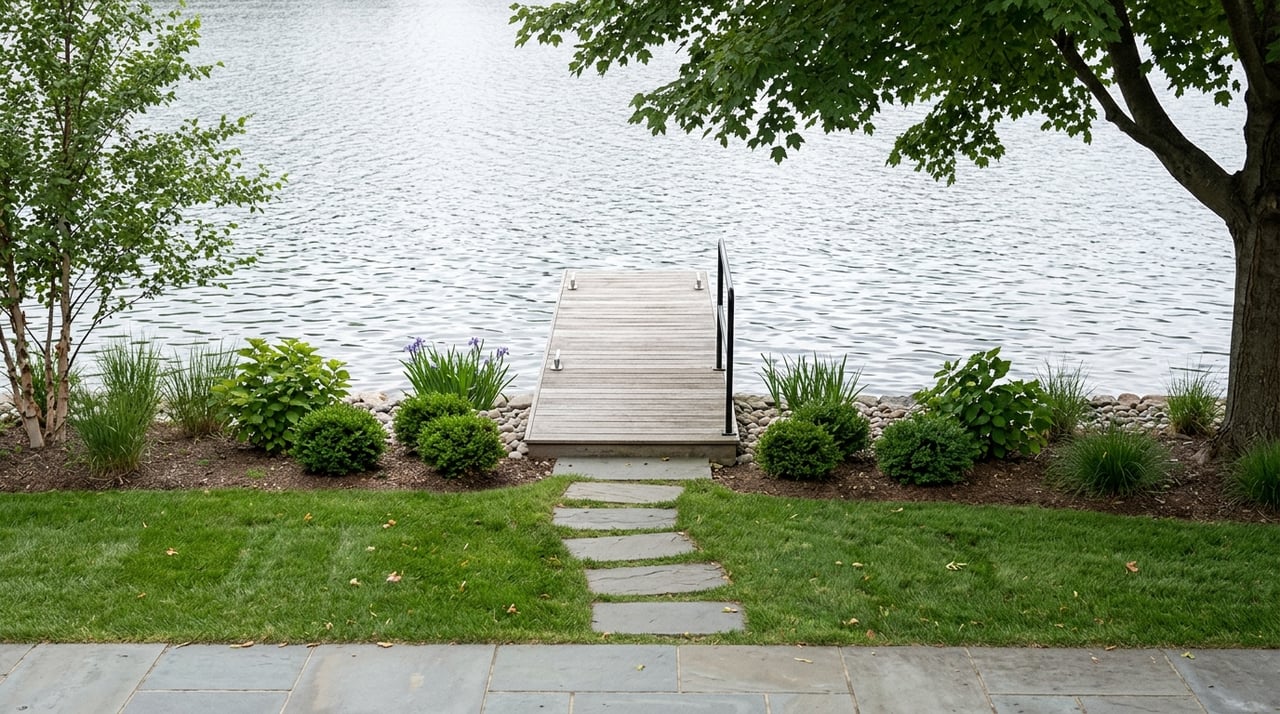
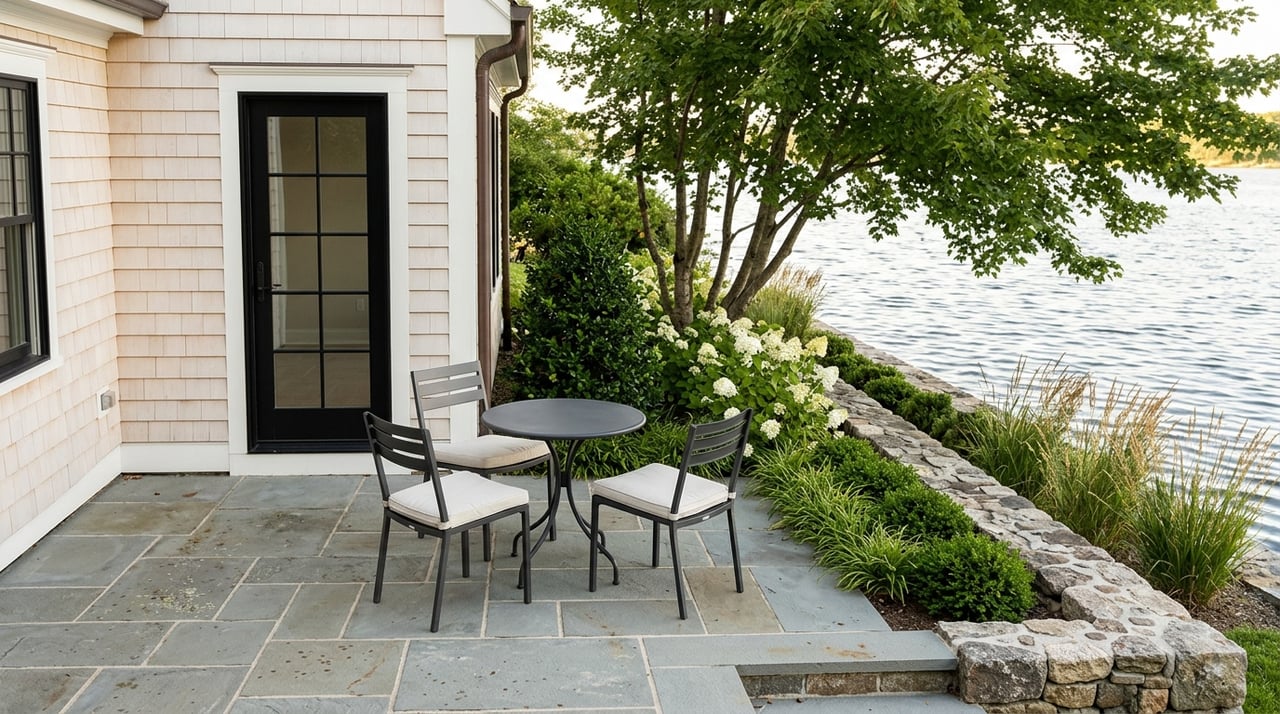
- Natural stone, like fieldstone or flagstone, blends with wooded settings and can be dry-laid for permeability. It may need occasional resetting.
- Low granite or bluestone curbing brings a neat edge that is still understated. It is heavier and costs more but is durable.
- Steel or galvanized metal edging gives crisp lines where lawn meets mulch or gravel. Use it sparingly near large trees because trenching can cut roots.
- Gravel with an edge restraint looks informal and drains well. Use angular stone with a restraint to keep gravel in place.
- If you want a more finished surface, consider pervious pavers or permeable asphalt for better drainage.
Install with roots in mind
- Preserve roots. Avoid deep trenches inside a tree’s drip line. Hand trench or surface-mount edging where roots are present.
- Keep edges away from trunks. Trees need a rootable zone with undisturbed soil.
- Choose materials that can handle deicing salts and freeze–thaw. Avoid salt-sensitive plants right along the drive.
Ground treatments that look clean
- Mulch or wood chips give a natural edge and help with weed control. Refresh each season.
- Native woodland groundcovers and ferns soften edges without looking manicured.
- A narrow strip of mown grass can create contrast where light allows. Keep it narrow to reduce mowing.
Quick wins before photos
- Sweep the driveway and walkways and remove leaf piles.
- Repair obvious cracks and edge breaks. A dark sealcoat can improve contrast for photos on some drives.
- Use seasonal containers near the entry rather than big new beds if you want minimal maintenance.
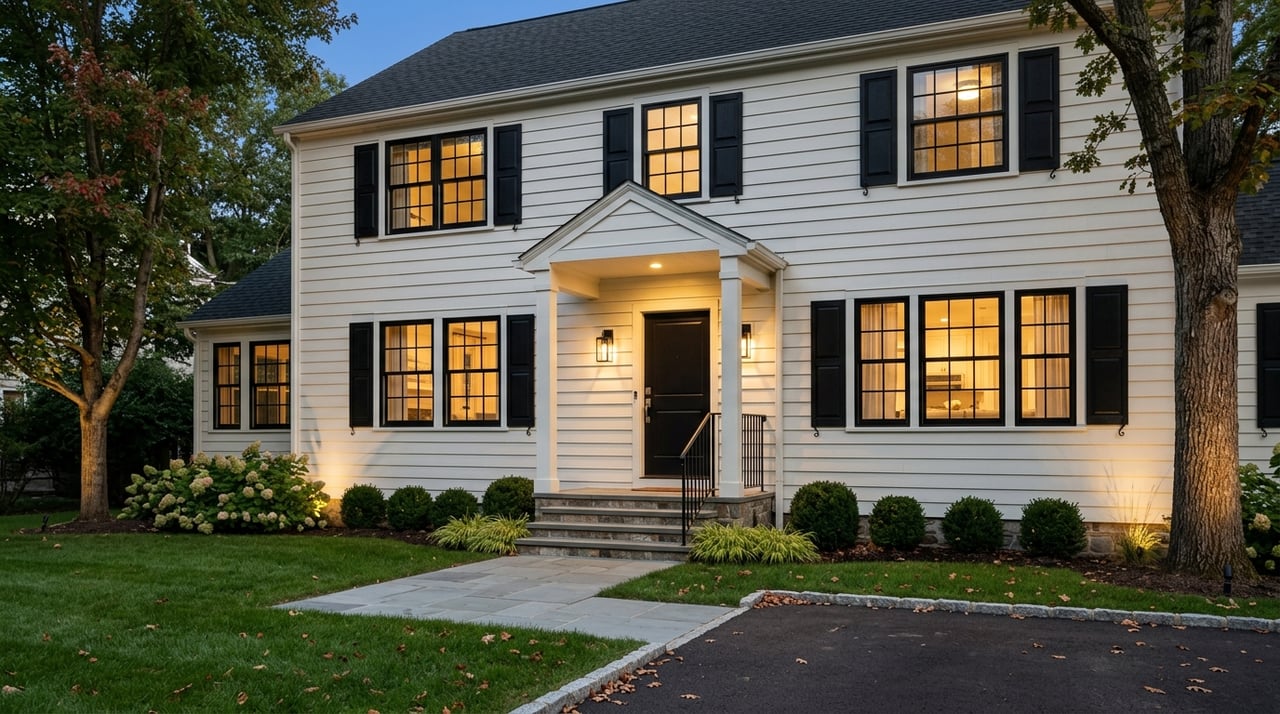
Lighting that is warm and subtle
The goal is to make the approach readable at dusk and during evening showings without over-lighting the woodland.
Layer your light
- Combine path lighting, step lighting, and soft accent lights with adequate porch illumination.
- Use warm LED color temperatures around 2700–3000 K for an inviting glow.
- Minimize glare and light spill with shielded, downward-facing fixtures or cutoffs.
Path and step lighting tips
- Path fixtures in the 100–300 lumen range are usually enough for safety. Space them 6–12 feet apart, closer on curves or slopes.
- Add riser or tread lights on steps to guide the eye and improve safety.
- Consider short, low bollards to mark drive edges without harsh glare.
Controls and wiring
- Low-voltage LED systems are efficient and easier to retrofit. Use timers, dusk-to-dawn controls, dimmers, or motion sensors to fine-tune brightness and schedules.
- Solar can work for small paths, but dense canopy shade often reduces performance. Test before you rely on solar lights for showings.
- Avoid trenching through root zones. Use micro-trenches or surface cable routes where appropriate. Call 811 before you dig.
Make features stand out
- Use a narrow-beam spotlight to highlight the front door, a stone element, or a specimen tree.
- Keep surrounding areas darker so those focal points pop. Uplight trees sparingly and avoid over-illuminating canopy interiors.
A weekend plan to get show-ready
Use this focused, two-day plan to polish your curb appeal without a major renovation.
Friday prep
- Gather tools: pruning shears, loppers, hand saw, rake, wheelbarrow, mulch, edging tool, broom, pressure washer if you have one, outdoor lights or extension cords, and trash bags.
- Safety: gloves, eye protection, and a sturdy ladder with a helper. Identify any large branches that need a pro.
- Plan for golden hour photos, either early morning or late afternoon.
Saturday: structure and definition
- Safety sweep
- Walk the property to spot hazards and remove small deadfall.
- Pruning for presentation
- Remove deadwood and rubbing branches.
- Raise low limbs over drives and walks and clear sightlines to the façade.
- Lightly thin shrub masses around windows and the porch to reveal architecture.
- Skip pruning spring bloomers if they have not flowered yet.
- Edge and bed cleanup
- Define the driveway edge with dry-laid stones, a hand-installed metal edge, or a crisp mulch line. Avoid deep trenches near big trees.
- Refresh mulch to 2–3 inches, keeping it away from trunks.
- Rake leaves off the drive and front walk.
- Hardscape clean
- Sweep or blow the driveway and porch. Spot clean stains if needed.
Sunday: lighting, staging, photography
- Lighting test
- Install or test path and porch lights. Use warm LEDs and set timers so lights come on 30–60 minutes before showings or photos.
- Final staging
- Place one or two containers with shade-tolerant plants near the entry. Keep it simple.
- Remove vehicles from the driveway, set a clean mat, and sweep steps and porch.
- Tidy the interior view from front windows for a clean sightline.
- Photography
- Shoot at golden hour for soft shadows and warm tones.
- Capture a view from the driveway centerline, a three-quarter angle of the façade, a street view, and detail shots of the entry, stonework, and specimen trees.
- Use a tripod if possible, keep the horizon level, and include warm porch or path light for curb appeal at dusk.
- Final inspection
- Do a last walk-through to remove debris, check lighting, and adjust any mulch or container placement.
Photo and showing checklist
- House visible from the street and framed by trees.
- Driveway edged and swept with no leaf piles.
- Entry clear, well lit, and staged with minimal containers.
- Path lighting on timers and working.
- No obvious safety hazards. House numbers are easy to read.
- Photos at golden hour and one dusk set with lights on.
Mendham-friendly plant and material picks
- Understory trees and specimen shrubs: Kousa dogwood, serviceberry, witch hazel, and mountain laurel add seasonal interest.
- Evergreen structure: Consider inkberry and native hollies for year-round form near the entry.
- Groundcovers and edges: Native ferns, wild ginger, foamflower, and shade-loving sedges work well under trees.
- Mulch: Shredded hardwood bark or coarse wood chips fit a woodland aesthetic.
- Edging: Local fieldstone or dry-laid rock for a natural line, with steel edging for select crisp transitions installed with minimal root disturbance.
Permits and safety reminders
- Some tree removals or pruning above certain diameters may require township permits, especially near roads or in protected areas. Check with Mendham Township before you remove major trees.
- If your lot includes wetlands or steep slopes, state or local review may apply before you disturb soil.
- Call 811 to locate underground utilities before you install edging, lighting, or anything that requires digging.
- Hire an ISA certified arborist for large or complex tree work.
How Your Dream Home NJ can help
Great curb appeal is about telling the right visual story. From staging guidance to professional photography, you get a plan that highlights your property’s best features while respecting its woodland setting. If you are preparing to sell, we can help you prioritize high-impact updates and craft a listing launch that stands out.
Ready to maximize your Mendham home’s first impression? Get your free home valuation with Your Dream Home NJ and let’s build your plan.
FAQs
When should I prune trees on a wooded Mendham lot?
- Late winter to early spring is best for most structural pruning, while spring bloomers should be pruned right after they flower. Avoid heavy pruning in late summer and fall.
How can I edge a driveway without harming tree roots?
- Use dry-laid stone or hand-installed edging and avoid deep trenches under the drip line. Keep hard edges away from trunks and preserve undisturbed soil around large trees.
What type of landscape lighting works under tree canopy?
- Low-voltage LED systems with warm color temperature and shielded fixtures work well. Solar lights often underperform in dense shade, so test before relying on them.
How do I keep a natural look while improving visibility?
- Clear a 6–10 foot sight corridor, raise low limbs over paths and drives, and thin dense shrubs near windows. Keep select understory plants to preserve the woodland feel.
Do I need a permit to remove a tree in Mendham Township?
- You may need one depending on tree size and location, and additional rules can apply in wetlands or steep-slope areas. Check with the township before major removals or pruning.